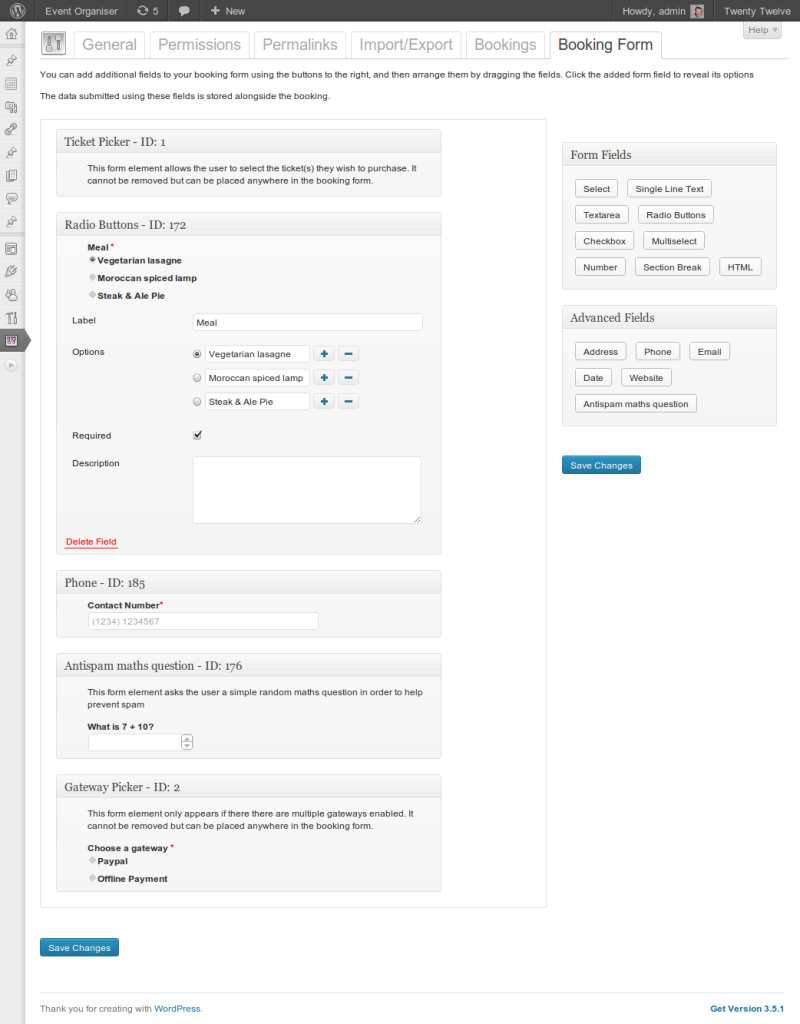
The booking form customiser allows you to easily tailor the booking form to suit your needs, whether its requiring a meal choice, contact details or t-shirt size. The collected data is viewable with the booking, and can be included in a CSV export of bookings.
Creating a booking Form
Simply go to Settings > Event Organiser > Booking Form. A default form will automatically exist and you can create more. You can also name the form to help identify it on the event admin screen.
To add fields simply click the appropriate button in the metaboxes on the right. With the fields added you can click the field to reveal the field’s options (including an option to remove it from the form). You can also re-order the form fields by dragging the fields by their title bar.
Once you’ve created the booking form, edit the event and select the booking form in the tickets metabox.
Exporting a booking form
You can export a booking form from the customiser by clicking the Export Form button at the bottom of the page. This will trigger the download of a .json file.
Importing a booking form
Click the Import Form button at the top of the customiser, you’ll be prompted to select a file. Select an export booking form (.json file) and click import. A new form shall be created for you, using this imported booking form.
Please note: The imported booking form shall be given an entirely new ID. All form elements shall retain their ID.

