
To add tickets to an event you need to install Event Organiser Pro alongside Event Organiser. If you haven’t done so already, you can purchase Pro here: wp-event-organiser.com/pricing.
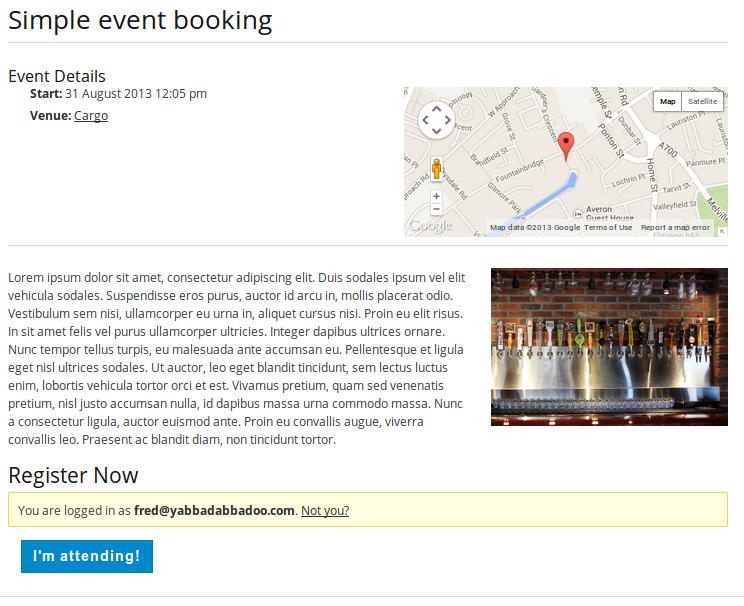
Some times you don’t need multiple tickets, staggered ticket release & payment gateways – you just want a simple “I’m attending” booking form. So for when you’ve only got ‘one ticket’ things can be simplified by enabling Simple Booking Mode.
Enabling Simple Booking Mode
Go to Settings > Event Organiser > Booking Form and on the appropriate booking form, find the ticket picker form element, and click edit to reveal its setting. Check the ‘Enable Simple Booking Mode’ option.
Of course, you can still sell tickets in Simple Booking Mode, in which case you’ll also want to jump to Settings > Event Organiser > Bookings and set-up the payment gateways.
One thing to note is that “Simple Booking Mode” only takes effect if
- You only have one ticket available
- You are selling by series or the event is not recurring (i.e. not date selection is required).
If you’re ticket will be free, or if you have only one gateway enabled the gateway option on the booking form is redundant and so hidden from view.
Creating a ticket
Go to your event’s admin page and find the “Bookings” metabox. Click “Add Ticket”. In the panel that appears you can specify
- A ticket name (which appears on the booking form)
- The price of the ticket (leave blank for free)
- The number of tickets available
- (Optional) When the tickets come on and off sale. If these are blank tickets will be available for purch immediately, and until the event starts.
And that’s it! The booking form will now appear whenever there are tickets on sale.